Difference between revisions of "Manual"
Jump to navigation
Jump to search
| Line 22: | Line 22: | ||
You should now see Bakery menu added to the editor: | You should now see Bakery menu added to the editor: | ||
| − | [[File: | + | [[File:bmenu.jpg]] |
Revision as of 19:44, 28 May 2019
System requirements
To use Bakery you'll need:
- Windows (7 or higher) PC.
- Nvidia GPU. Minimum supported model is Kepler (GeForce 6xx or newer. For Quadro cards check the specs).
- 64-bit Unity editor. Bakery was tested on all versions from 5.6 to 2019.1.
Prerequisites
- Make sure your project does not have any script compilation errors, as it will prevent Bakery scripts from compiling as well.
- Make sure you have the latest GPU driver. Update it if needed.
Installation
1. Import Bakery to your project via Asset Store.
2. Unity will show a list of files to import. If it's your first time using Bakery, it is recommended you just click Import. Experienced users may want to untick the examples folder for a more lightweight installation.
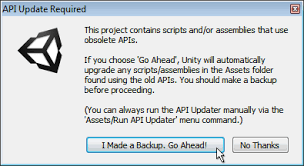
3. Unity will then import Bakery and compile the scripts. It may show a window like this:
In which case you should click "Go Ahead".
You should now see Bakery menu added to the editor:
Quickstart
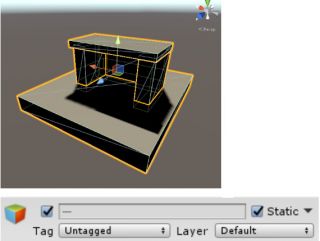
1. Add some model or primitive and mark it as Static.
2. Select Directional Light (the one Unity created for you) and add Bakery Direct Light component to it.

