
SIGN IN
| SIGN UP
Help
This is what you usually see after opening the geom.io editor - all main functional elements are highlighted with numbers:
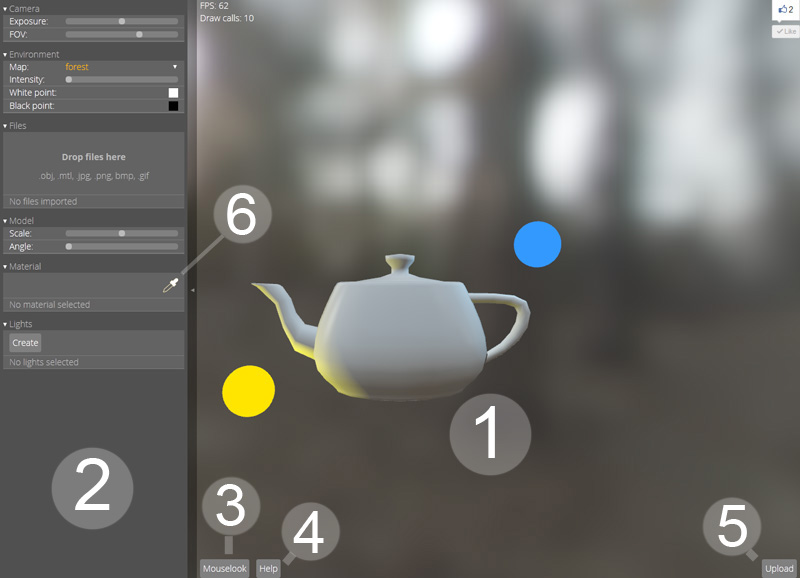
is the Viewport where you see your model (or the teapot for the first time), navigate it - e.g. rotate around it.
is the Panel. Panel consists of several Parameter Groups indicated by headers with a small arrow on the left. There are 6 Parameter Groups: 'Camera', 'Environment', 'Files', 'Model', 'Material' and 'Lights'.
is the Mouselook Switch, the same as used in published geom.io players. It allows you to switch between Default and Mouselook navigation modes.
is the Help Button that directs you to this page :)
is the Upload Button that allows you to submit your work after you have set it up properly.
is the Eyedropper Button that is necessary for switching between materials that you edit.
Tutorial
Here are few quick steps to get yourself started with geom.io:
Step 1:
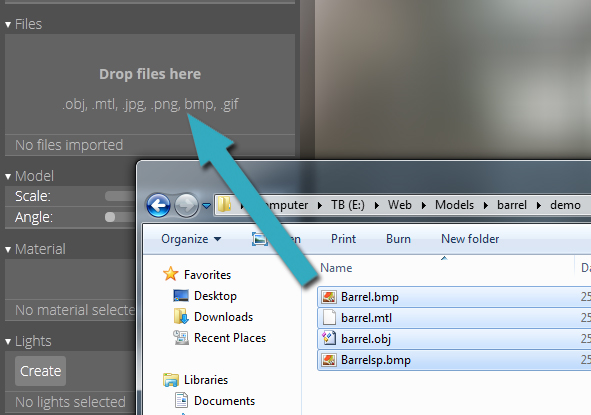
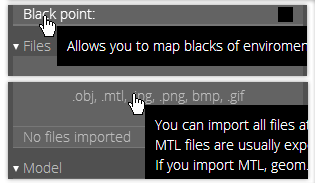
Simply drag and drop your files into this "Drop files here" zone. Alternatively, you can click the zone and select multiple files via dialog window. It is possible to import all files needed for your model at once. These include OBJ, MTL and texture files. Pay attention to MTL file: it stores material information and maps textures to polygons. If you import a MTL file, geom.io will automatically texture your model as it should be, you don't have to set each texture by hand - it is only neccessary for special maps (like roughness) that MTL does not support. MTL files are usually exported along with OBJ files by most exporters.
Step 2:
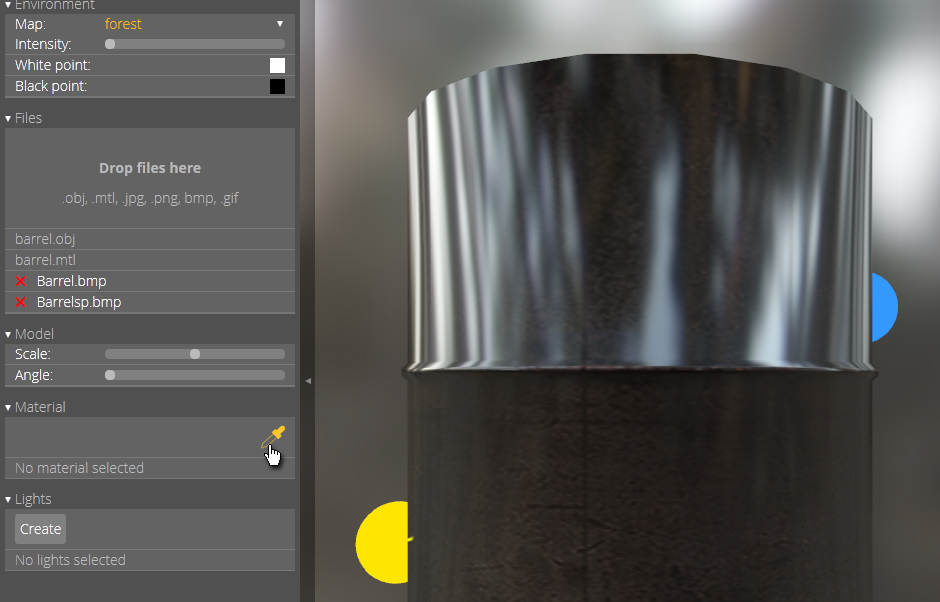
Now you see your model, but materials don't look really well. It's time to click the Eyedropper button!
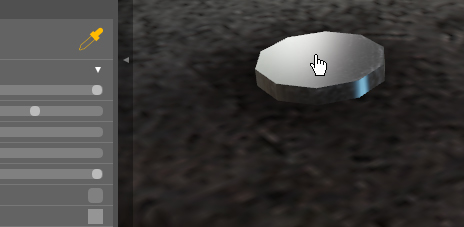
Step 3:

After the Eyedropper button has become orange you can click on any part of your model you want to change material of.
Step 4:
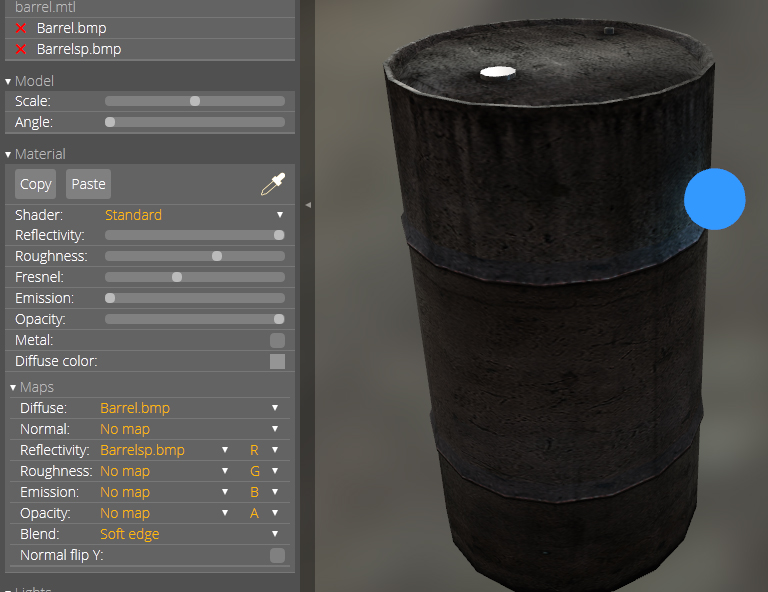
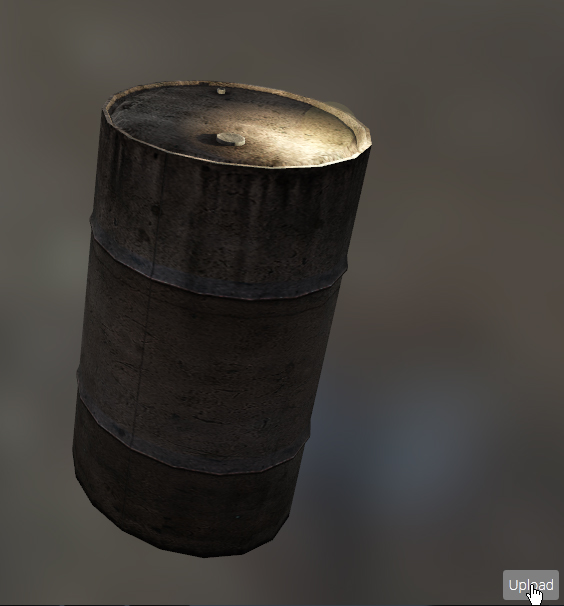
Material properties appeared! Now I can finally tune it. For this model I set higher roughness, because the barrel is rusty and certainly rough and I also set my reflectivity map because the barrel is quite dirty and does not reflect light uniformly. Then I play a little with reflectivity and fresnel sliders.
Step 5:
But hey, why is that cap so shiny? We want to change its material too. Let's press the Eyedropper button again and then click on that cap.
Step 6:
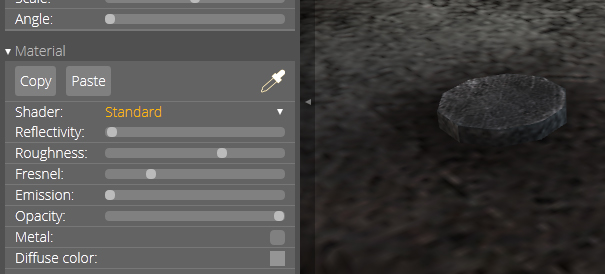
I want this cap to be even more rough and diffuse so I change material properties this way.
Step 7:
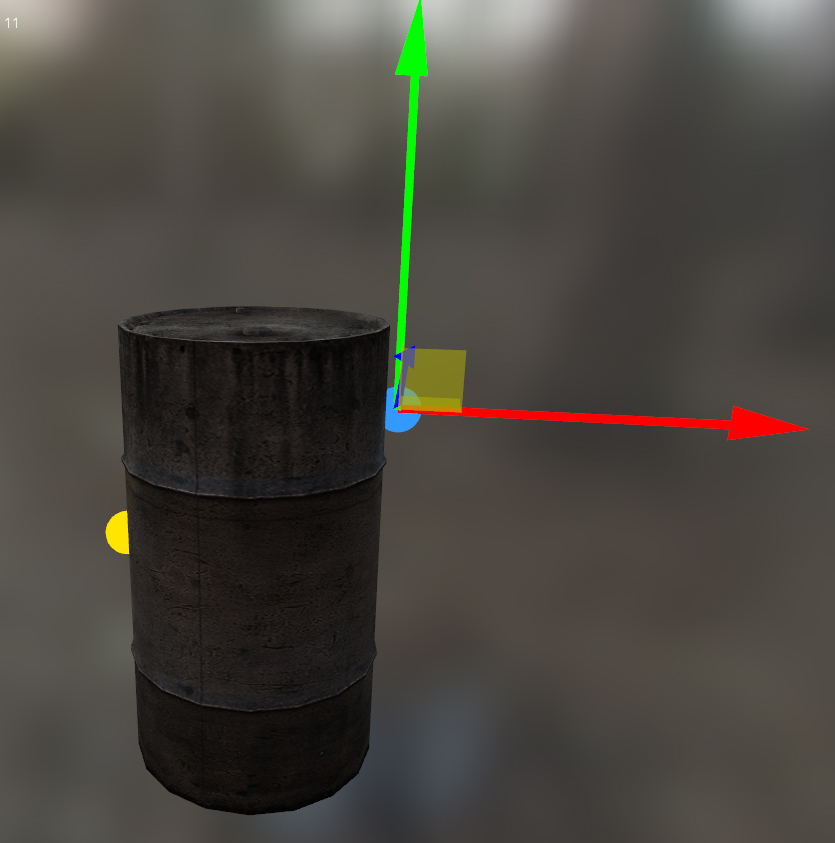
Good, now what about these nasty spheres? The spheres are actually light sources. But we'd scarcely want to leave them this way.
Click on light to select it. When light is selected, you will see these arrows coming from it.
Step 8:

I didn't want to use the second light, so i pressed DELETE on my keyboard and the selected light was gone.
Then I selected the other light and dragged it by the arrows to another position.
Finally, I changed its color and intensity in that Light parameter group close to bottom. I also turned on shadows for more dramatic effect.
Step 9:
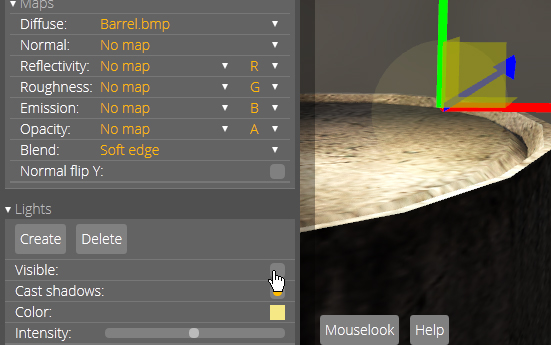
Lighting is fun, but I'm not sure I want to render light sources as that big spheres. So I turn off light visibility. It becomes semi-transparent now, but it will be fully transparent after upload.
Step 10:
Now it's time to upload! Yeah!
The Viewport

Hold Left or Right Mouse Button to rotate camera around the model

Hold Middle Mouse Button to pan camera
Use Mouse Wheel to get closer/farther relative to the model
Use W, A, S, D keys to move camera
Hold Left or Right Mouse Button to look around
Viewport contents
There are several things to look at in Viewport:
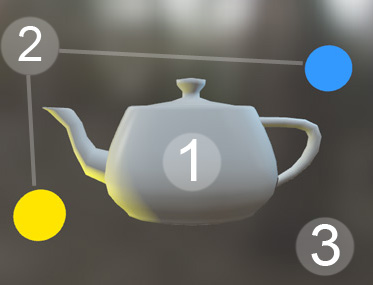
is the Teapot. It is only shown when you didn't yet import your model and temporarily replaces it. You can't upload the Teapot.
is the Lights. More precisely, these are spherical light sources. They emit light and look like spheres by default - but you can change it if you want.
is the Environment. It acts as a background for your model, and also as a source of ambient lighting and reflections. It's what Image Based Lighting term is about. You can try different Environments.
Working with lights in Viewport
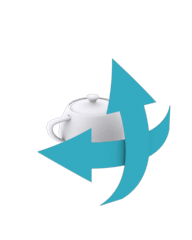
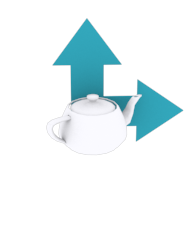
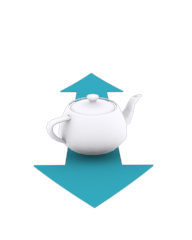
You can click a light to select it. The selected light looks like this:
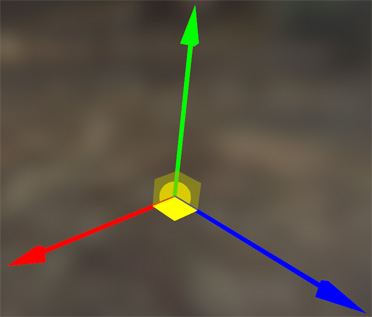
Drag these arrows with your mouse to move the light in appropriate directions. You can also drag these 3 small yellow planes to move the light in 2 dimensions of the plane.
To deselect the light, click anywhere in Viewport.
To delete the selected light, press Delete button on your keyboard (or another on-screen Delete button in 'Lights' Parameter Group).
Hint: to rotate around the selected light without losing the selection, rotate with Right Mouse Button.
The Panel
Panel navigation:
Make sure to hover your mouse over all captions: this will reveal helpful tooltips.
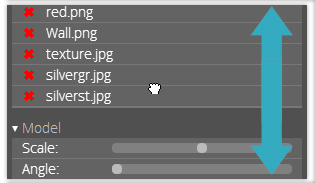
When there is too much stuff in the Panel that doesn't fit in the screen, you can grab and move it up or down with Left Mouse Button.
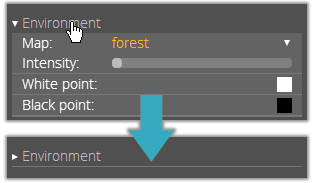
You can hide/show Parameter Groups by clicking their headers.
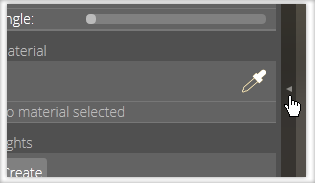
You can hide/show the whole panel by clicking that vertical ribbon with a small arrow.
Parameter Groups
There is no reason to clutter this help document with an explanation of each parameter in each Parameter Group: most of them have helpful tooltips and the ones that don't are self-explanatory.
The Eyedropper Button

Pay your attention to the Eyedropper button!
The only way to edit material of the model is to pick it with the Eyedropper.
Model may have multiple materials, and Eyedropper is an essential tool for switching between them.
To pick a material, click the Eyedropper button. It will become
orange
that means you are now in Eyedropper mode. In this mode you can click any part of you model in Viewport. Just after that, the 'Material' Parameter Group will appear, showing you the parameters of picked material.